New in 1.1.2 De-identify and NIfTI

MAC · WINDOWS · RESEARCH & EDUCATION

Everything DICOM,
in one app on your computer.

View and compare, reconstruct in MPR and 3D, measure, edit tags, subtract angiography, export and send studies, all on your own Mac or Windows computer, with no server to set up and no images sent to us. Professional adds Denoise for CT, MR and X-ray, plus filter chains and quantitative analysis. Every computer starts with 14 days of Professional, from its first launch.

No card · internet needed to start the trial · then $10 or $45 a month per computer

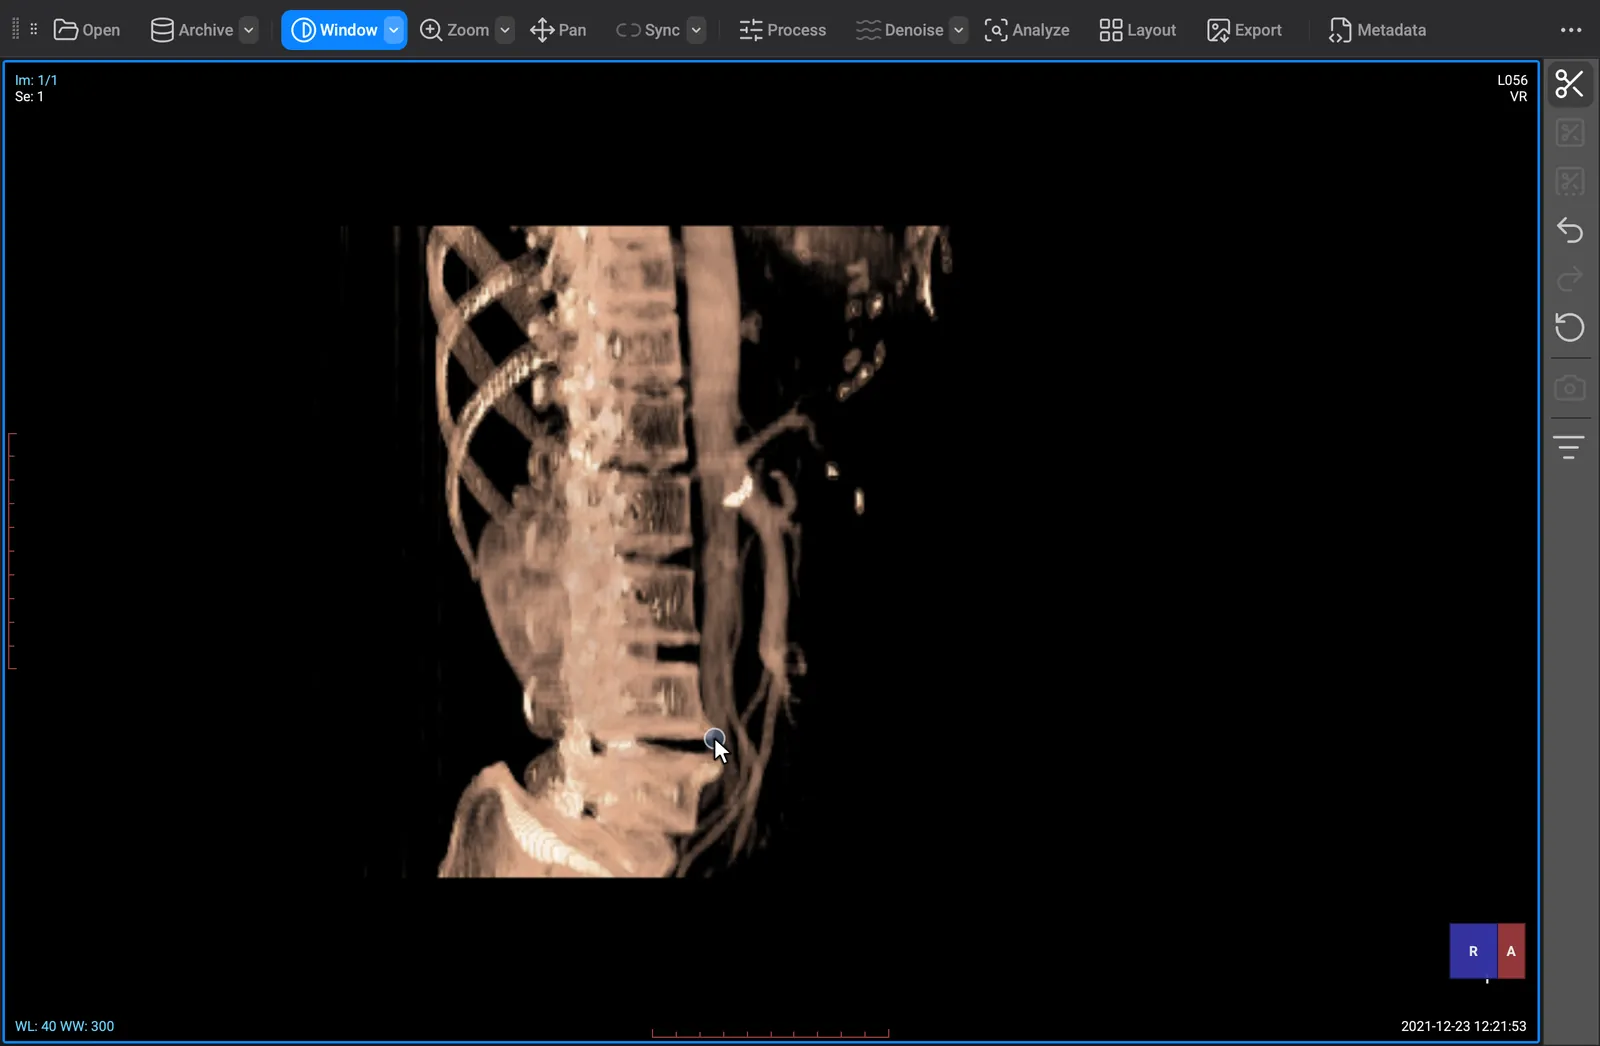
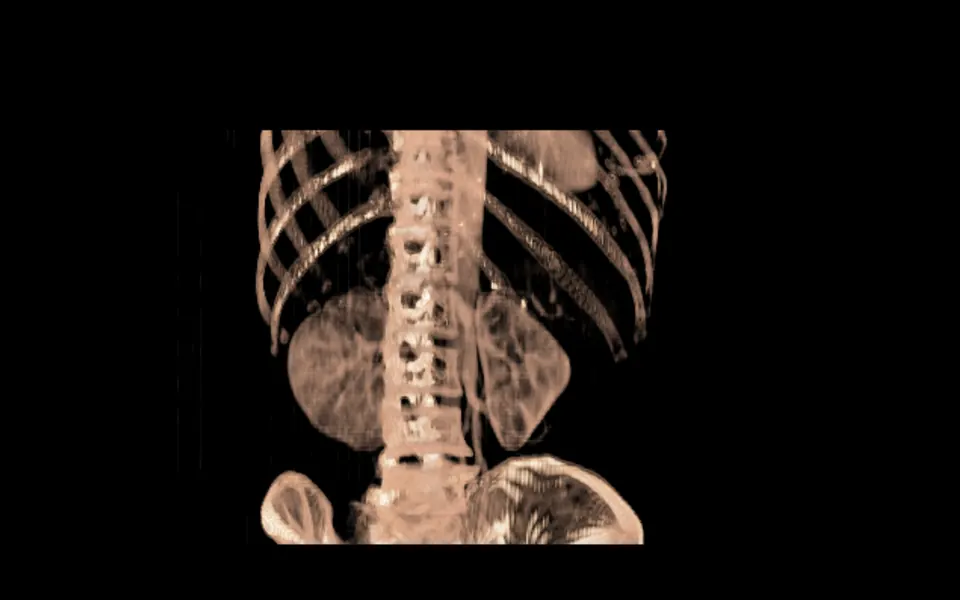
Real app capture: one CT in the MPR 2×2 layout. Dragging the crosshair in the coronal view moves the axial and sagittal planes with it; a drag in the 3D view turns the volume. On small screens the clip shows the axial plane.

  • Mac and Windows, the same app
  • No image is uploaded to us
  • Signed installers with SHA-256 hashes
  • 14-day Professional trial, no card

PROFESSIONAL · INCLUDED IN THE 14-DAY TRIAL

Go further with Professional.

Denoise for CT, MR and X-ray, plus filter chains and quantitative analysis, on your own computer.

01Denoise

Denoise for CT, MR and X-ray.

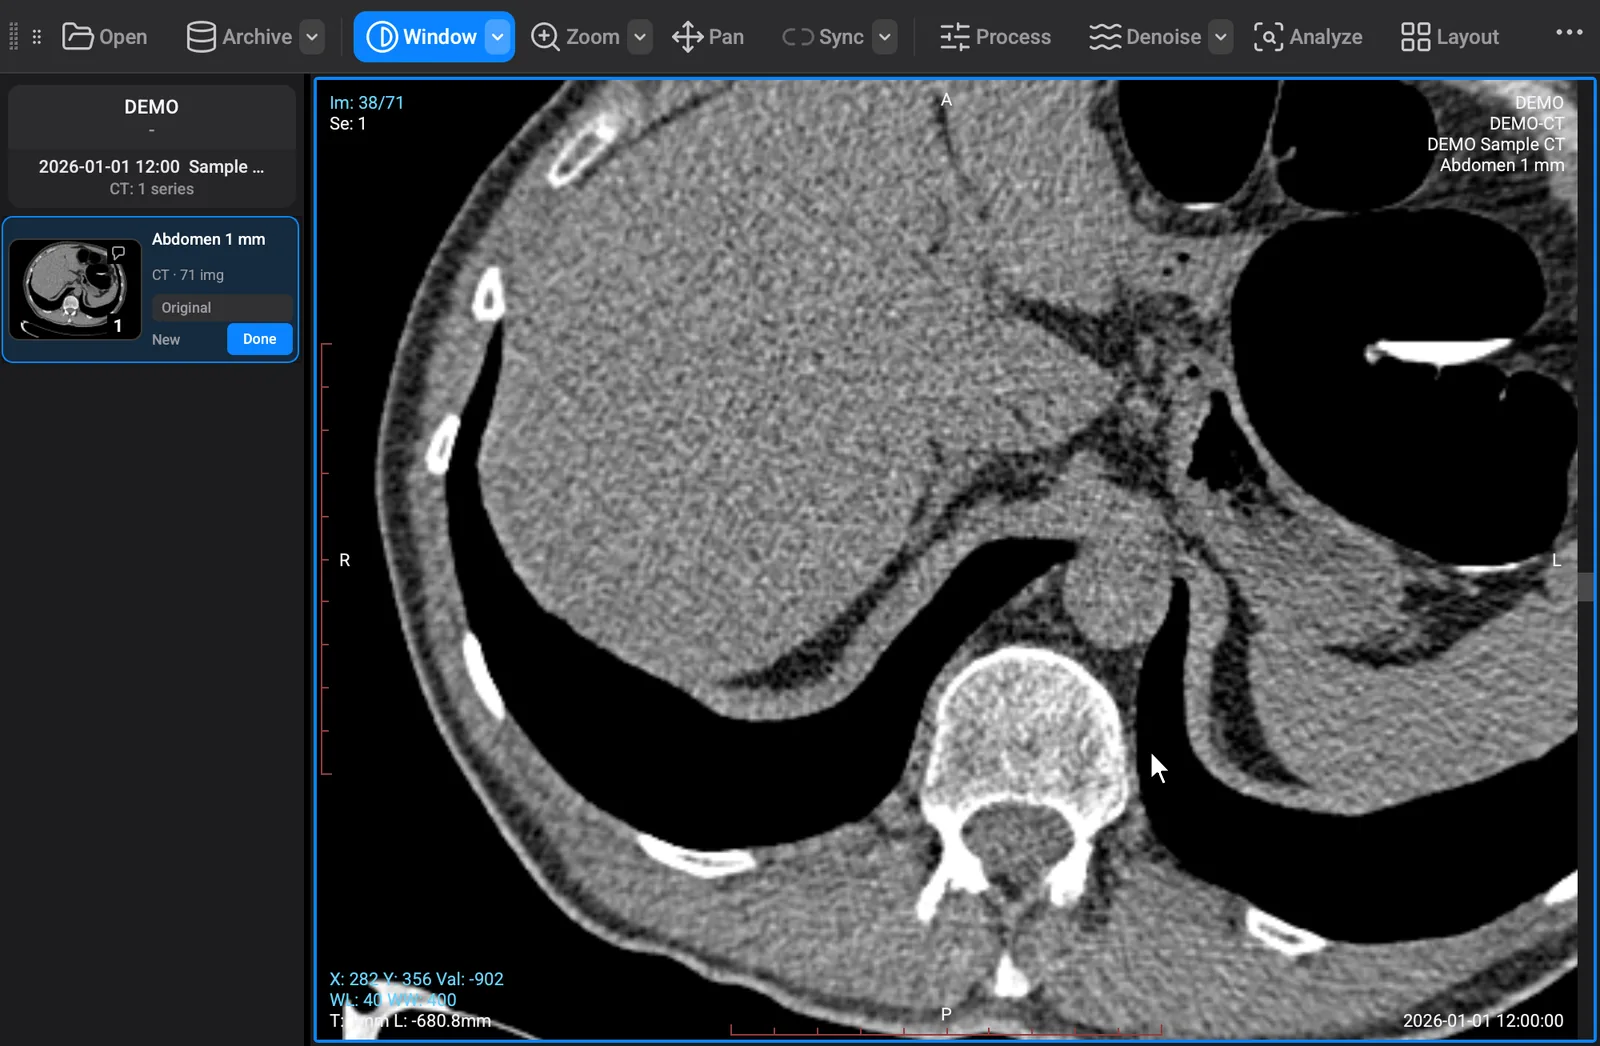
Click Denoise to reduce noise across a CT, MR or X-ray series, starting with the image on screen. Click again for the original. Your DICOM files are never changed.

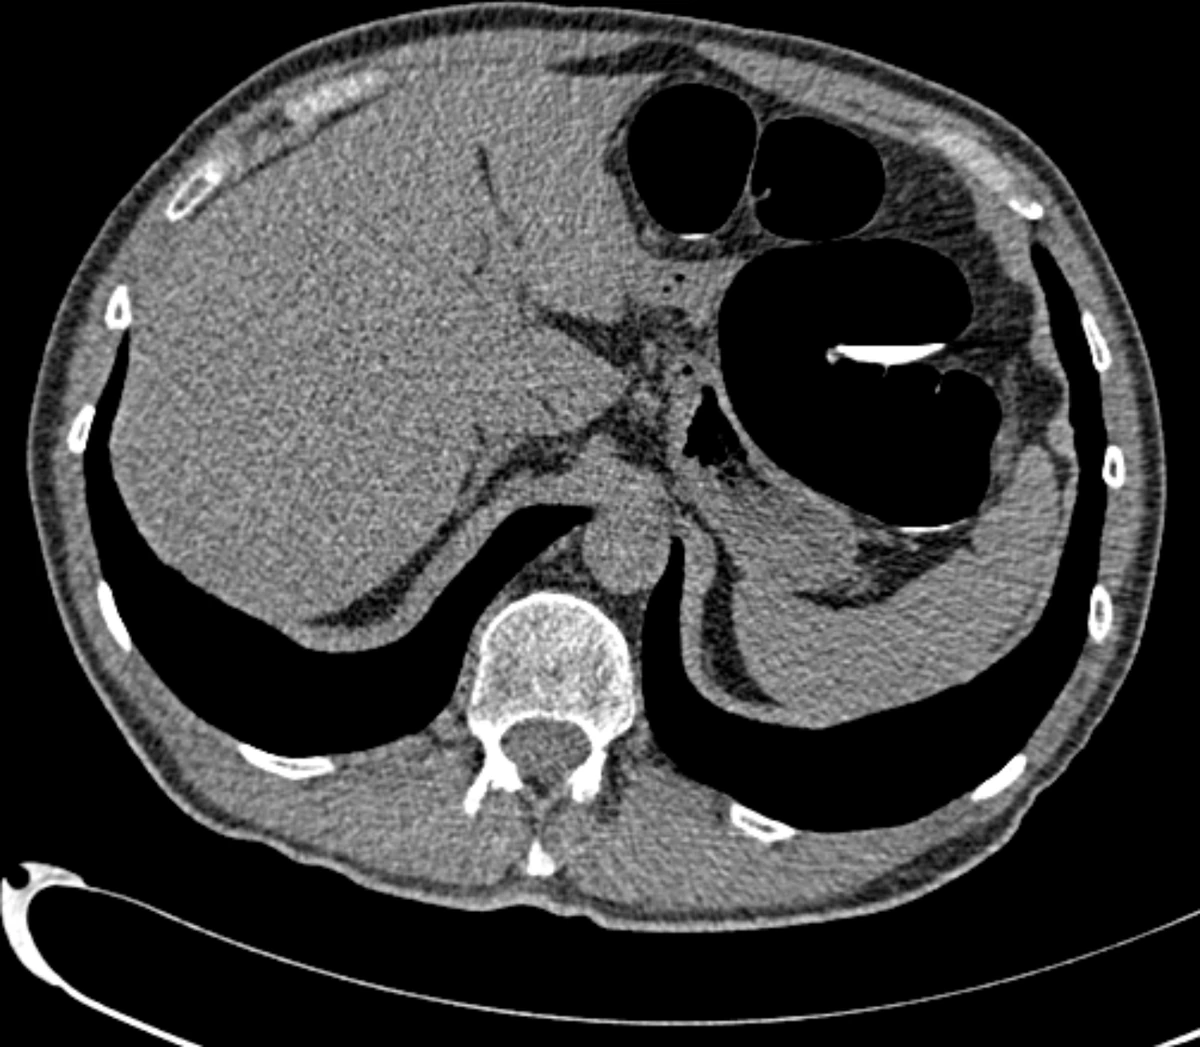
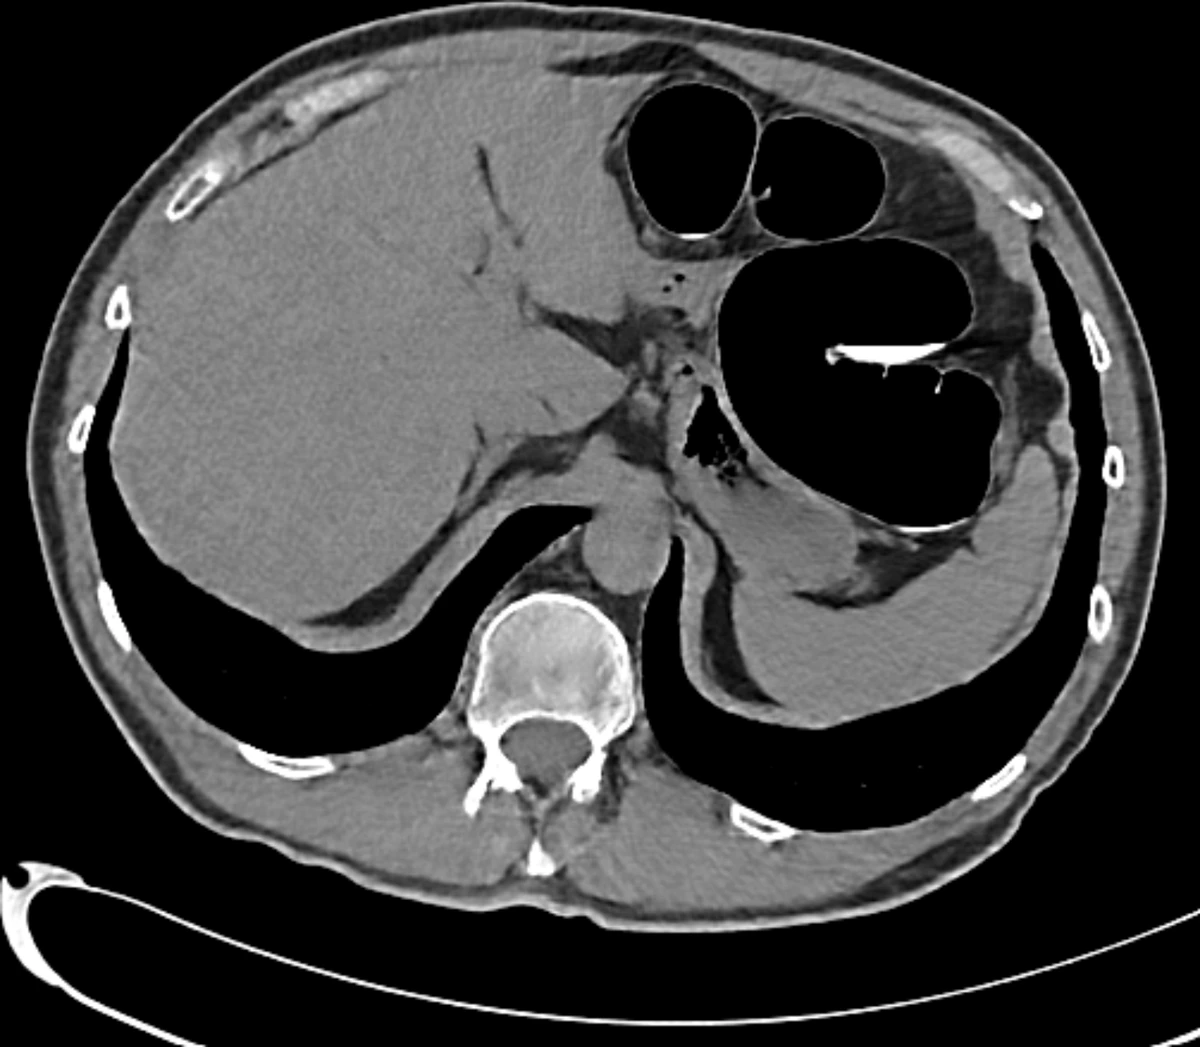
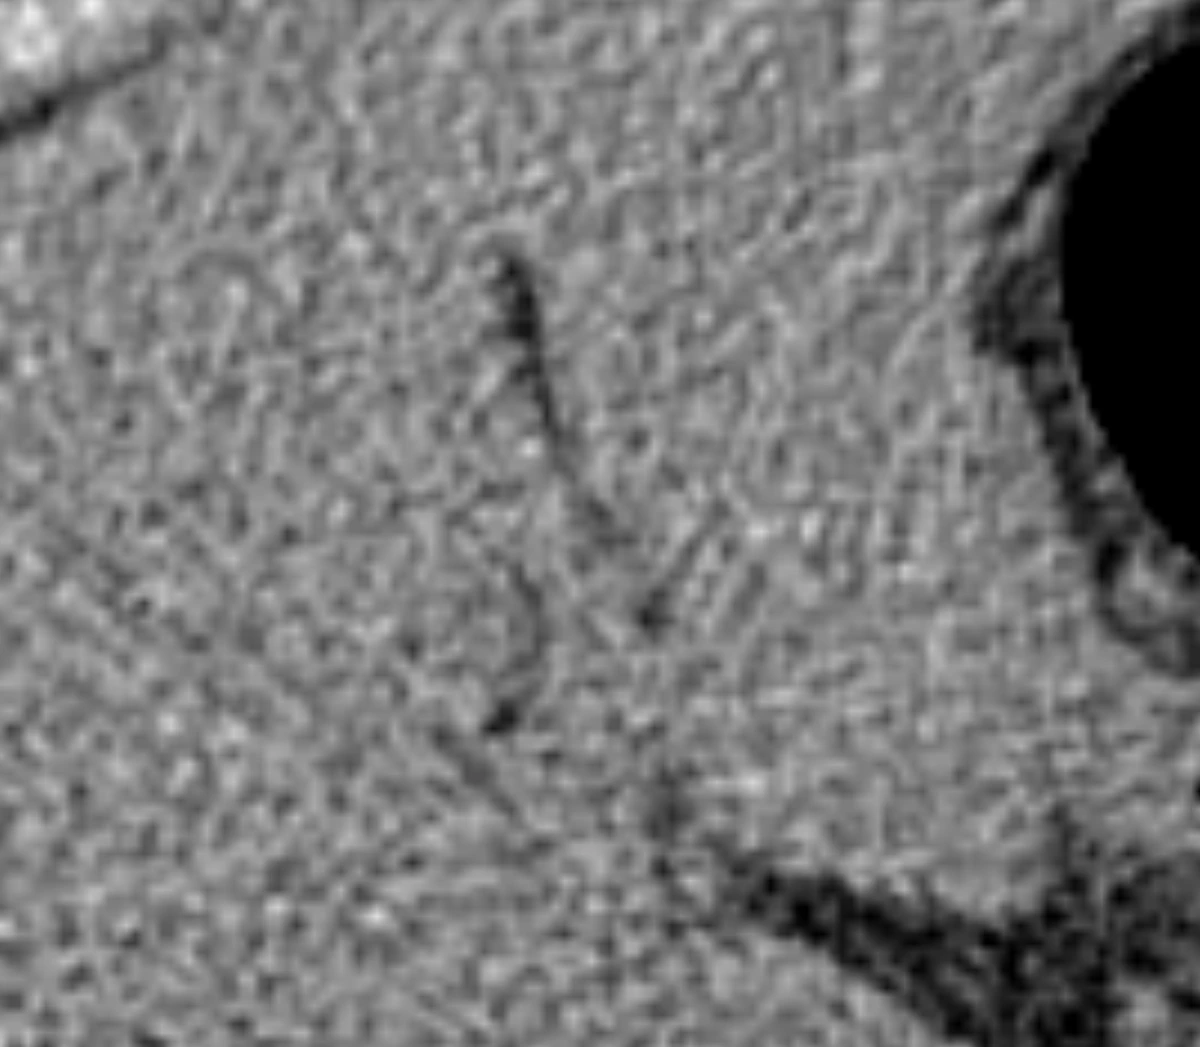
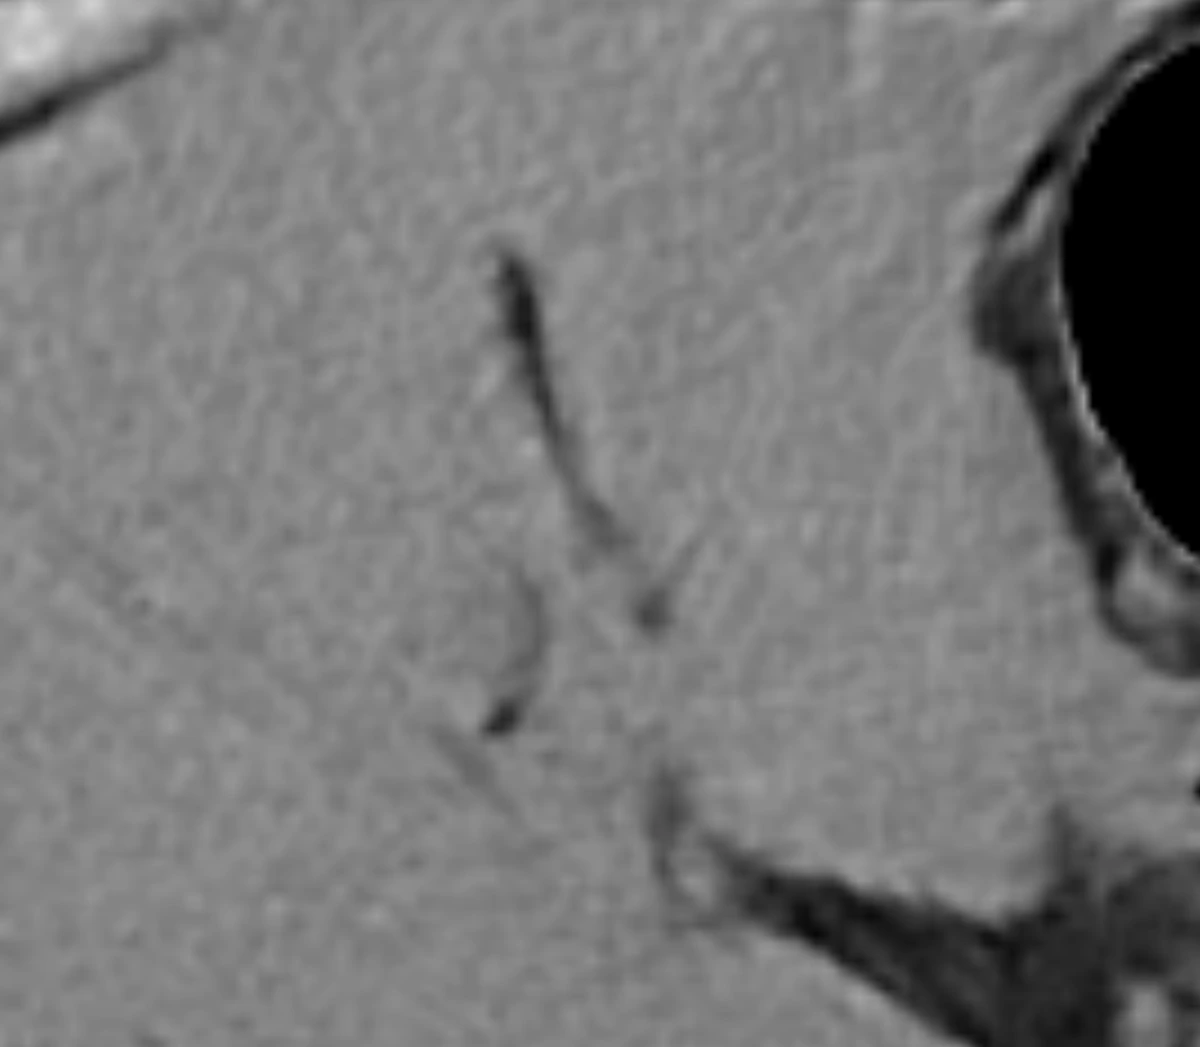
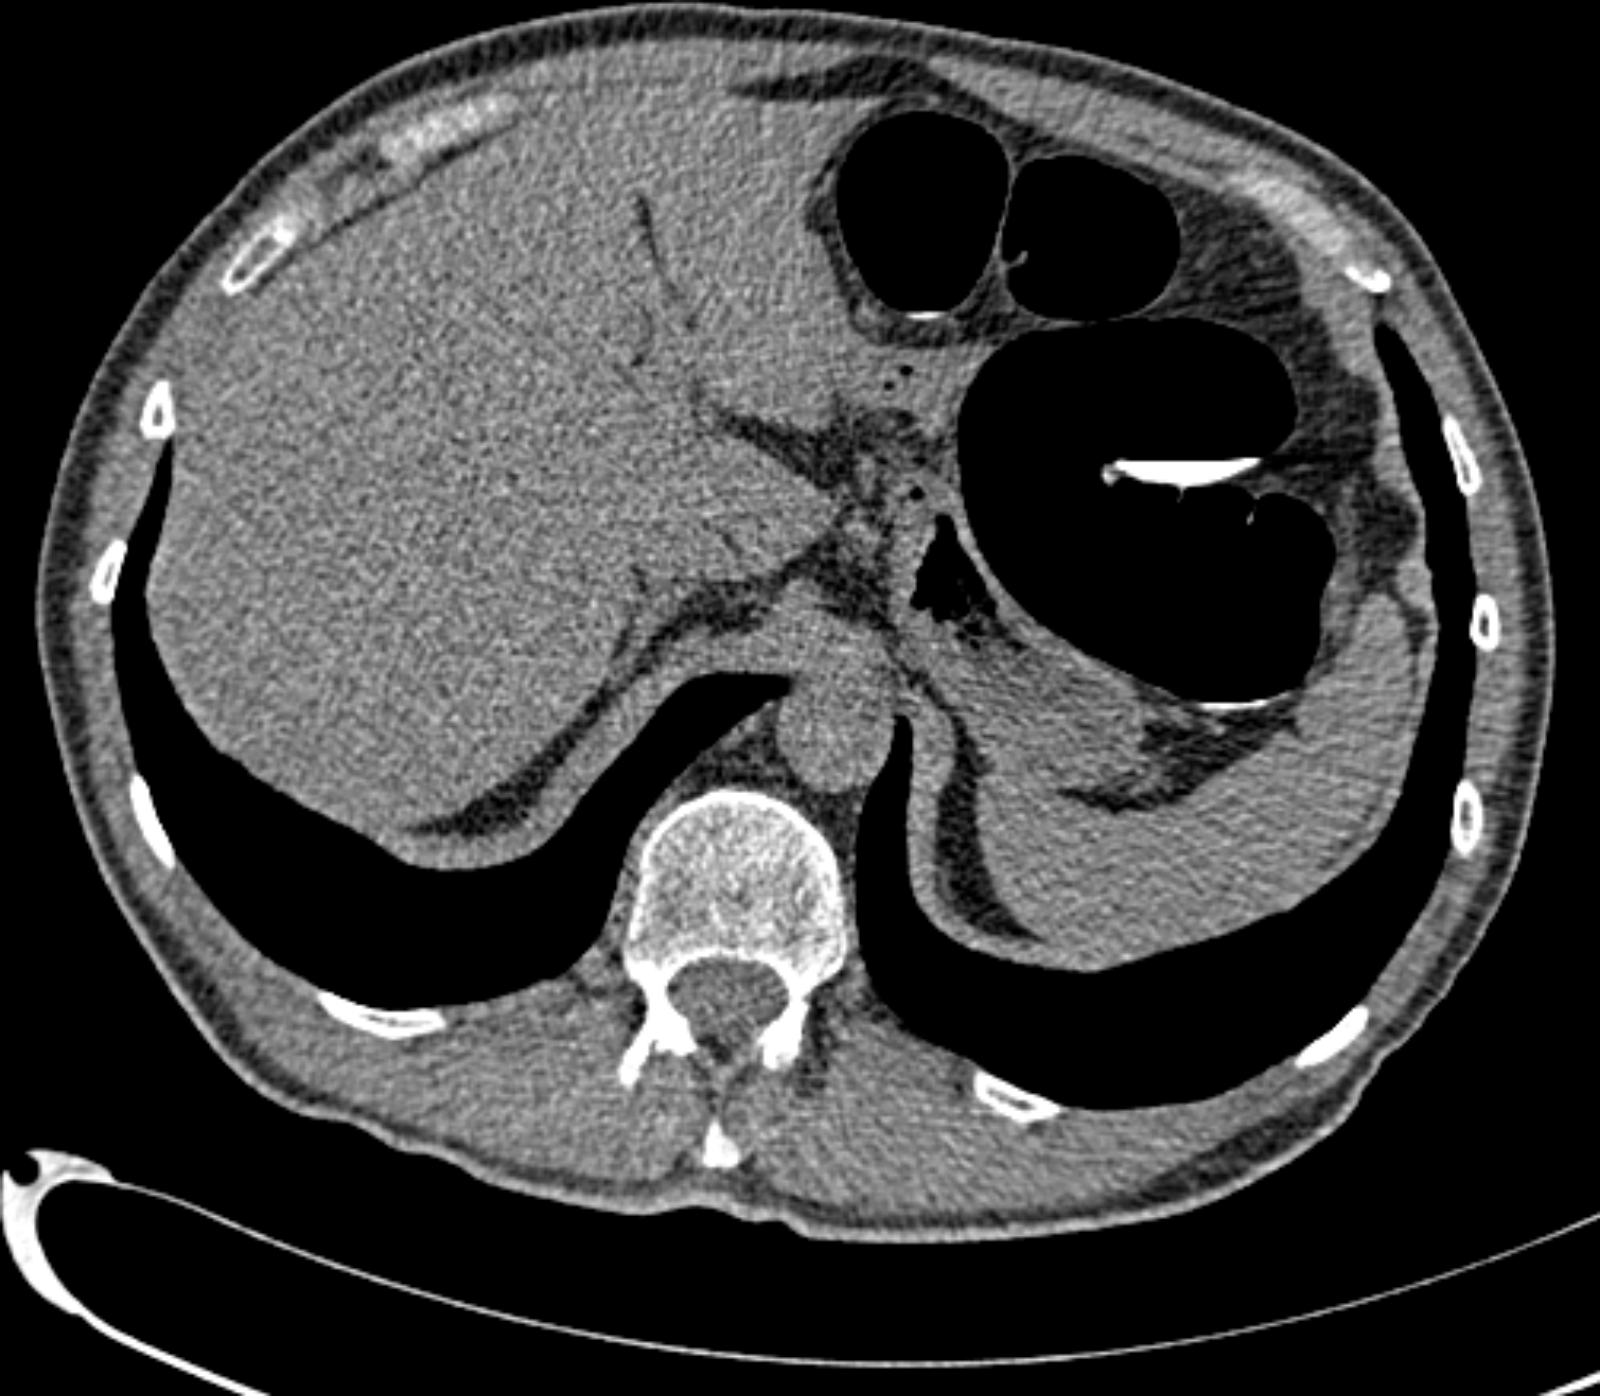
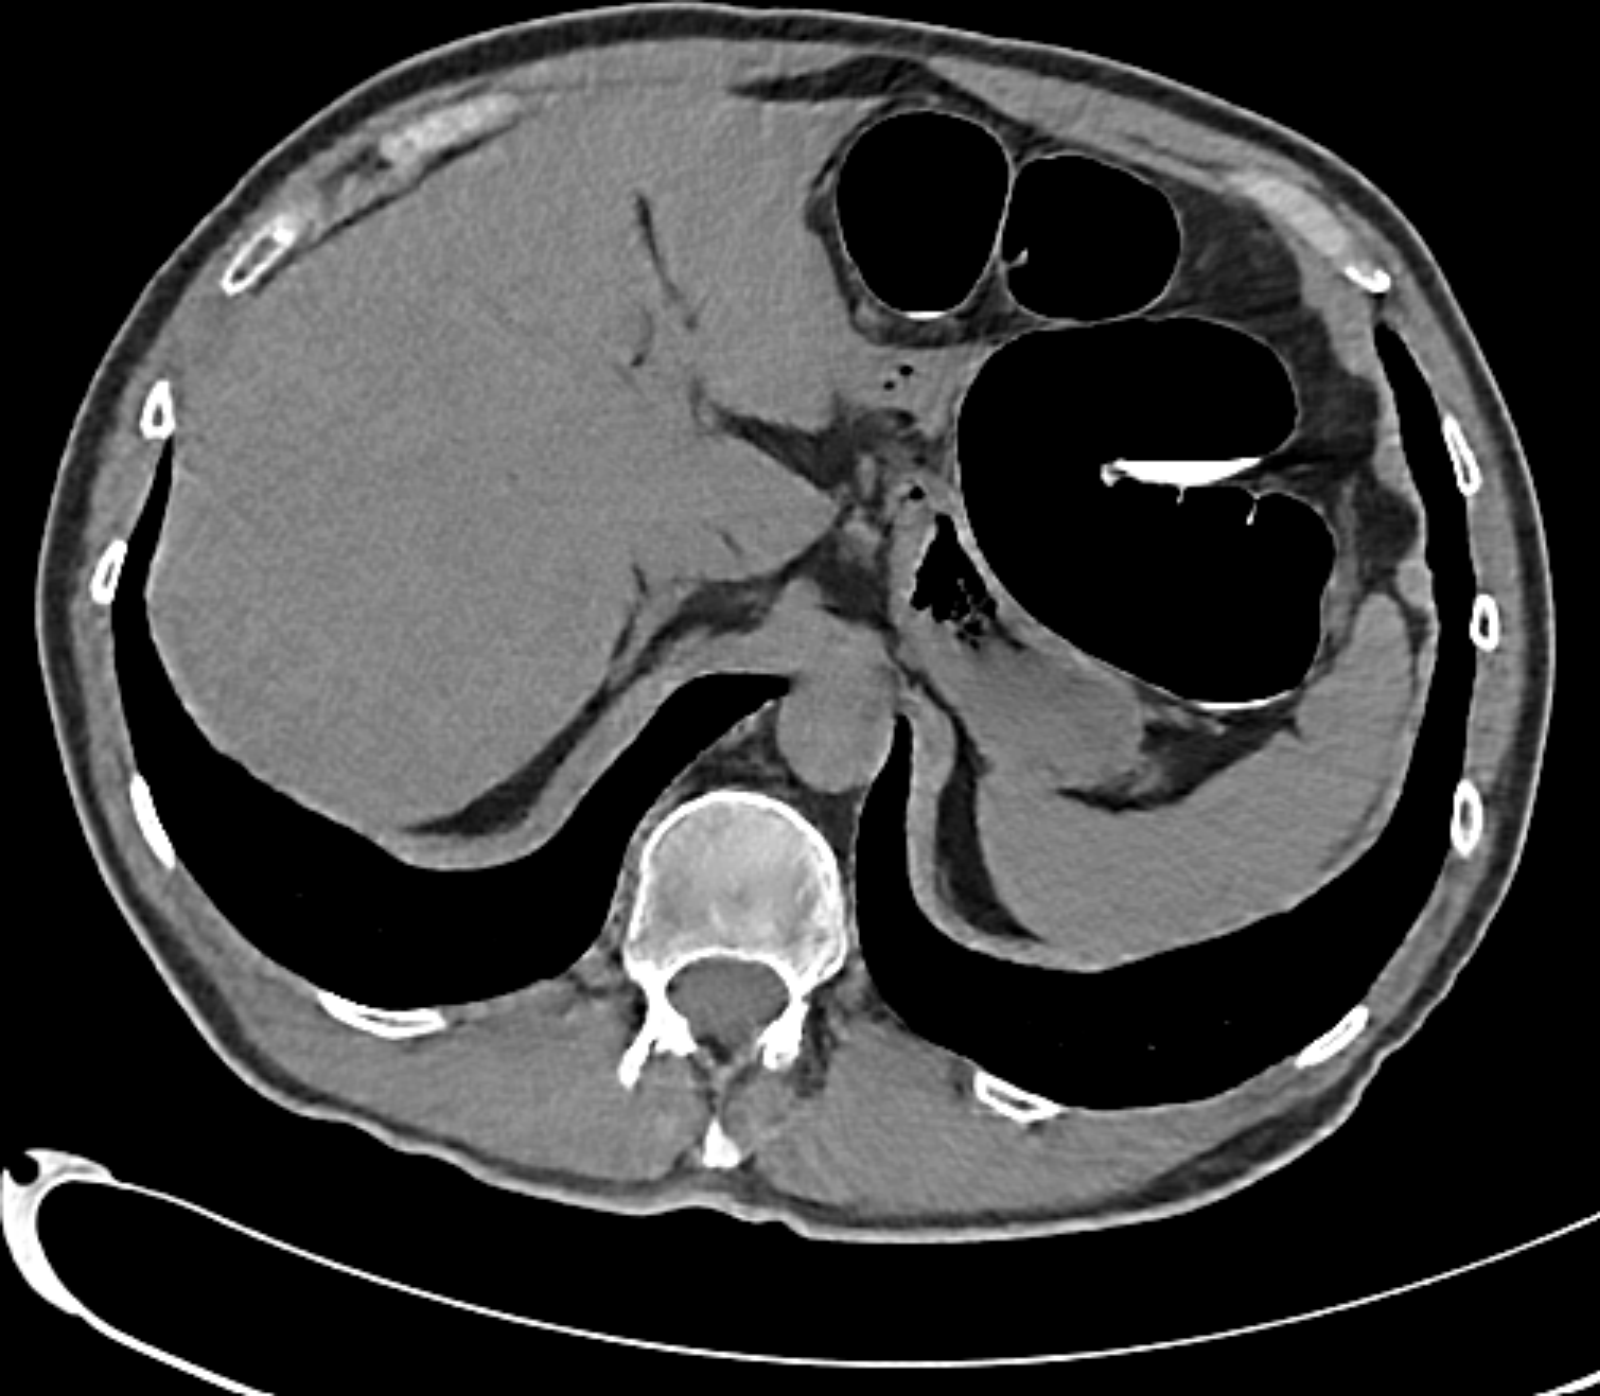
Same slice, Denoise off and on

CT slice at W400/L40, whole slice, Denoise off
Denoise off
CT slice at W400/L40, whole slice, Denoise on
Denoise on

Two captures from OmniDICOM of the same CT slice at window 400 / level 40 (W400/L40): Denoise off and on. The slider is part of this web page, built from the two captures; in the app you click Denoise again or press and hold Hold to compare. Images are 8-bit display captures, not HU data.

In the 2D view, measurements, ROI statistics, histograms, profiles and exports use the denoised image, and Statistics, Histogram, the profiles and Particles label their results “denoised image”. MPR, 3D, time-intensity curves and slice projections use the original pixels.

For research and education only, not for diagnosis. This applies equally to denoised and processed images.

Download both captures (PNG): Denoise off · Denoise on
Sample: CT Colonography (ACRIN 6664), TCIA, CC BY 3.0 — credits

Denoise is noise reduction, not image generation: it estimates the noise in each slice or X-ray image and removes it.

  • CT and MR series and X-ray images (CR, DX, DR, RG); not mammography
  • Runs on your own computer; no image is uploaded
  • Mac: macOS 14 or later
  • Windows: the graphics card through DirectML where available, otherwise the processor
  • Can be saved for the series on this computer, like other processing
  1. Click Denoise
  2. Click again: the original
  3. Click again: Denoise on
  4. Scroll denoised slices
Real app capture on a CT series: Denoise on, off and on again, then scrolling through denoised slices. The wait for the first run is cut from the clip.

02Process

Process: filters in your order.

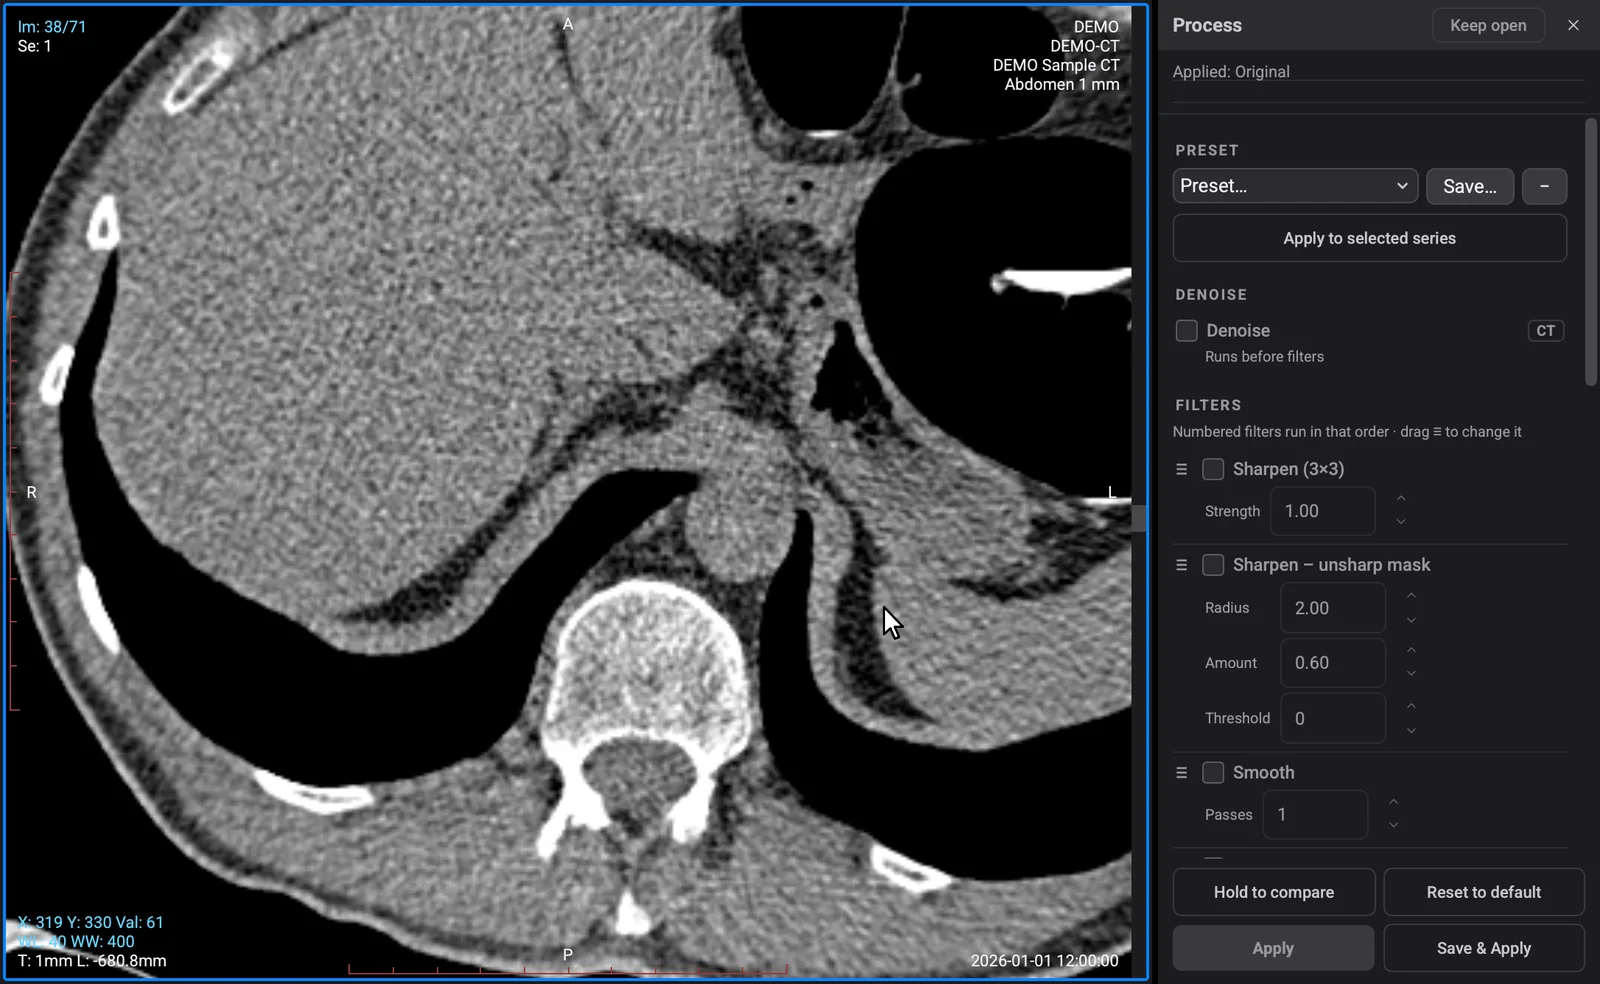
Chain up to eight filters with typed values, save presets, apply them to selected series, and hold to compare without Denoise and filters.

  • Sharpen – unsharp mask with Threshold
  • Sharpen (3×3)
  • Local contrast (CLAHE)
  • Edge-preserving smoothing
  • Vessel and small-structure enhance, including dark structures
  • Subtract background, dark or light
  • Gamma and contrast stretch
  • Apply, or Save & Apply

Apply shows the result on screen; Save & Apply also saves it for the series on this computer. Filters change the displayed image, not the values you measure: measurements read the stored values, or the denoised values while Denoise is on.

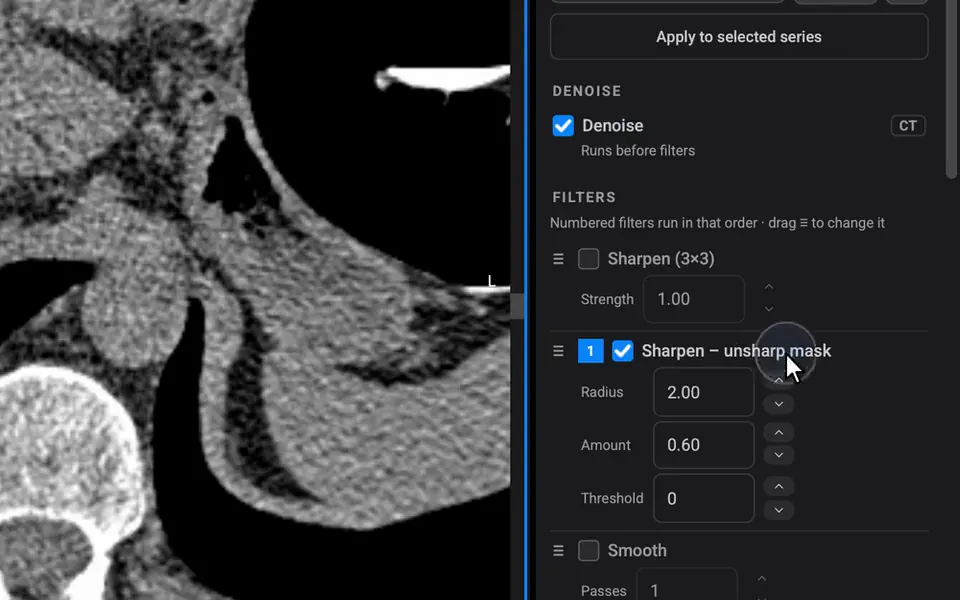
  1. Tick Denoise, then Sharpen – unsharp mask
  2. Type Radius, Amount, Threshold
  3. Apply
  4. Press and hold Hold to compare
  5. Save & Apply
Real app capture: Denoise and Sharpen – unsharp mask (Radius 1.5, Amount 0.8, Threshold 6), Apply, Hold to compare, then Save & Apply. The processing wait is cut.

03Analyze

Analyze: numbers you can take with you.

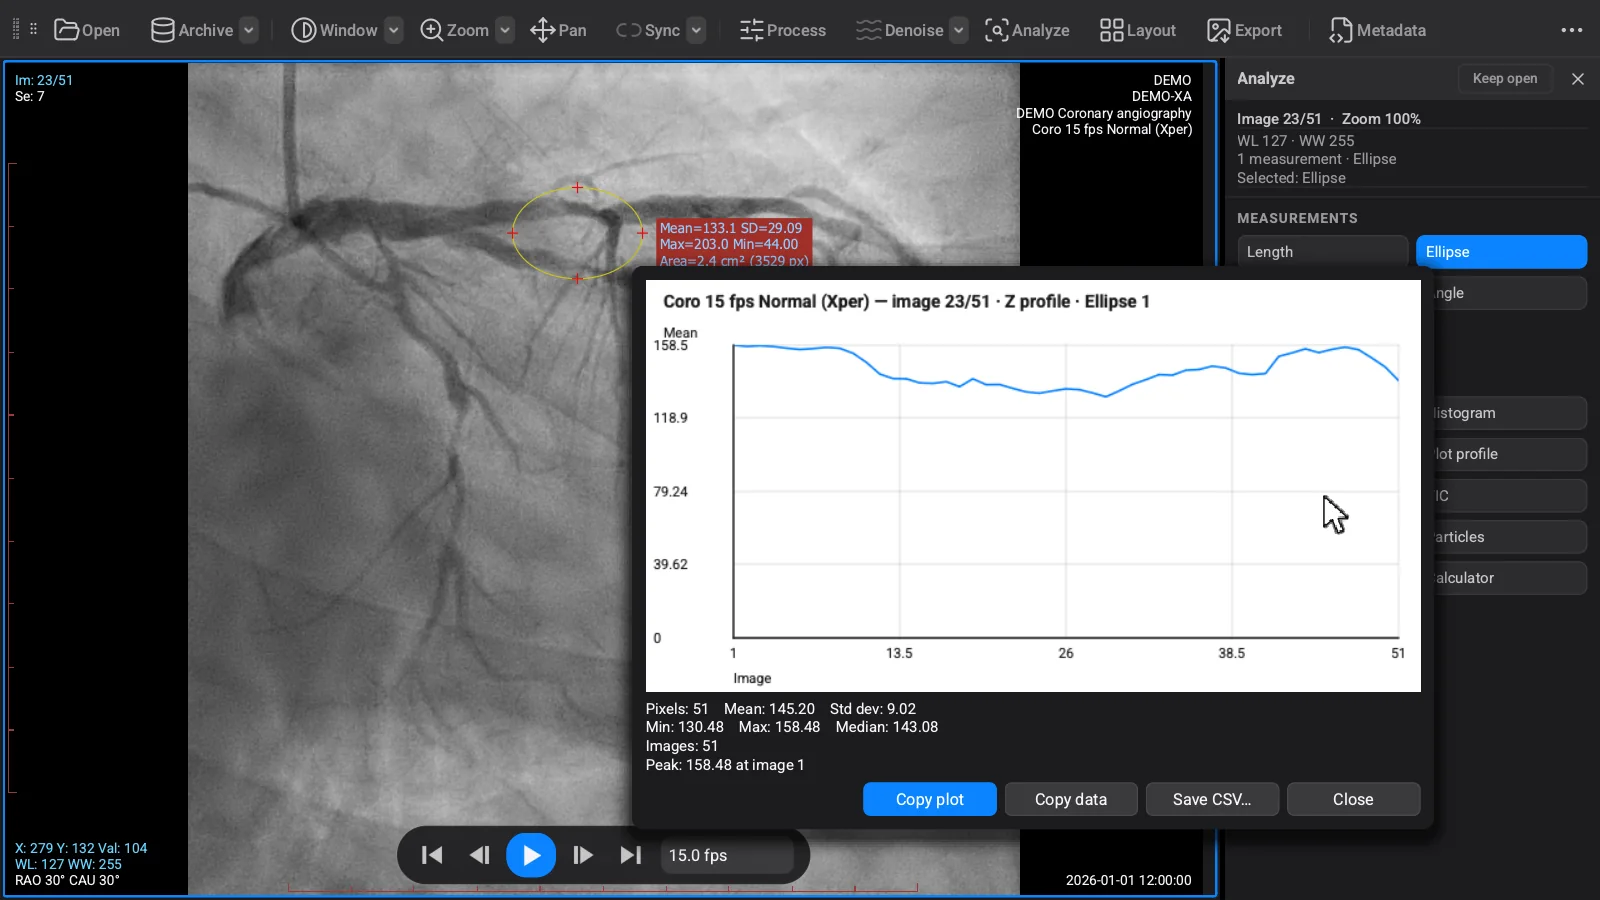
ROI statistics, histograms, line and Z profiles, time-intensity curves, particles and the ROI manager. Copy the data or save CSV.

A time-intensity curve compares two or more series as timepoints. Within one run, Z profile follows a region across its frames.

Length, ellipse and polygon drawing tools are included in Basic.

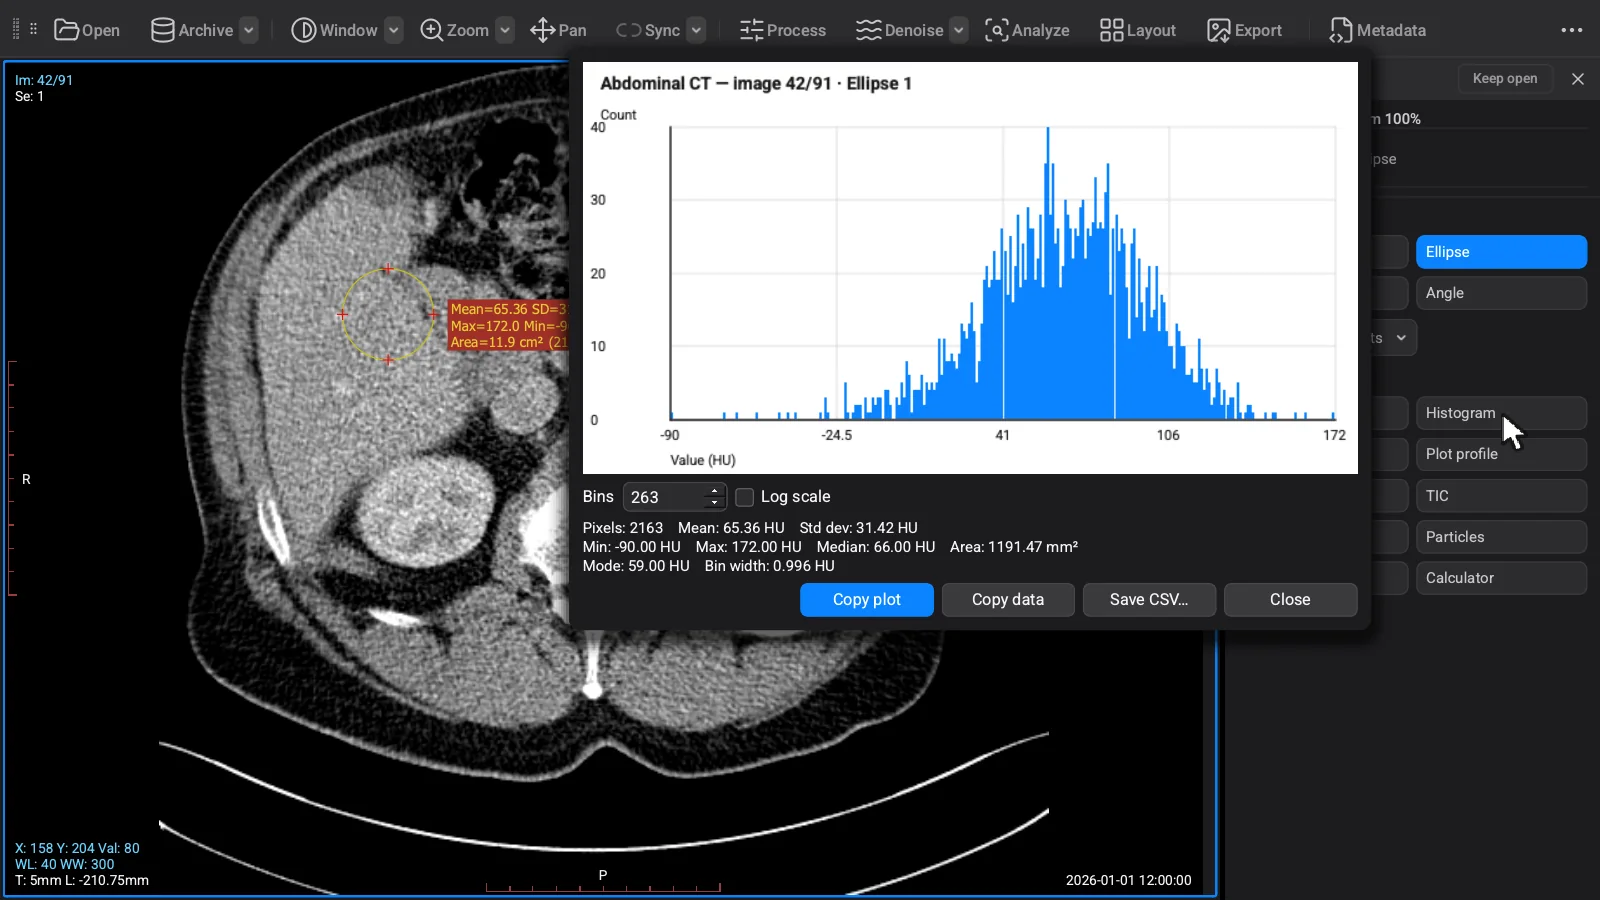
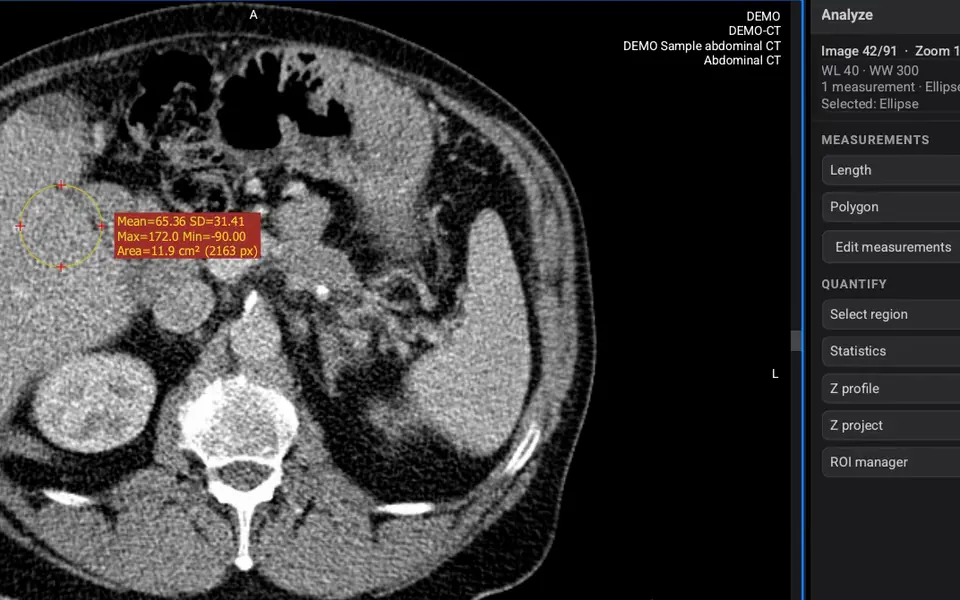
  1. Ellipse on the liver
  2. Histogram
  3. Statistics
  4. Length and Plot profile
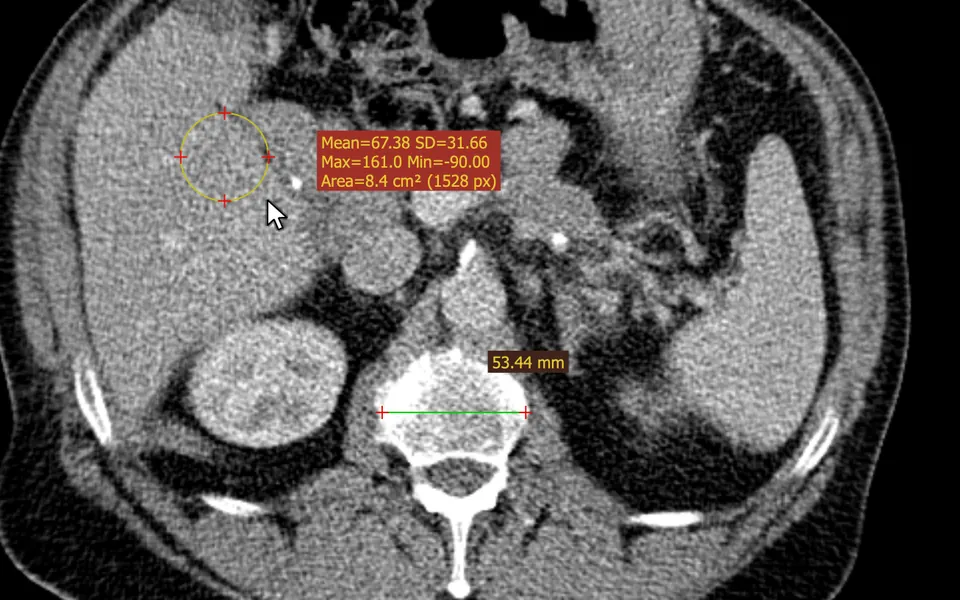
Real app capture on an abdominal CT, Denoise off: an ellipse on the liver, its histogram and statistics, then a line profile across the kidney.
Try Professional free for 14 days

Professional is $45 a month or $449 a year per computer after the trial.

NEW IN 1.1.2

Four new tools for your research.

Make a de-identified copy, save a series as a NIfTI volume, type text on the image and leave a comment on a series. All four work in Basic, Professional and the 14-day trial.

01 De-identify Basic

De-identify a copy.

Select studies or series in the Local archive and choose De-identify. OmniDICOM saves a copy under the DICOM PS3.15 Basic Application Level Confidentiality Profile, with new UIDs, in a new folder. Your original files are not changed.

Text burned into the images is not removed. Only the DICOM header is changed: names, dates or ID numbers drawn into the pixels, or stored inside compressed image data such as JPEG comments, stay in the copy. Faces can be rebuilt in 3D from head CT and MR. Faces are not removed. Open the copy and check every image before you share it.

  • Dates: shift by a random number of days (intervals kept), remove, or keep
  • The patient’s name and ID are replaced by the new ID; other names and IDs, birth dates and private (vendor) tags are always removed
  • Kept only if you choose: age, sex, height and weight; the institution’s name and address; the scanner’s identity; study and series descriptions, after you review them
  • A summary of what was done, deidentification.txt, is saved with the copy; no link between the old and new identifiers is kept

Basic, Professional and the trial. Series marked as having text in the image, ultrasound, screen captures and photos are left out unless you include them; structured reports (SR), PDFs and other documents, and video are not copied. Whether the copy counts as de-identified under the rules that apply to you is for you to decide. More in the manual

  1. Select the study
  2. De-identify: new ID, dates shifted
  3. Copying 91 files
  4. Done: check the copy for text
Real app capture on a copy of a public CT study staged under a demo identity (DOE^JOHN, Example Hospital): De-identify with a new ID and shifted dates. The warning about text burned into the images stays in the window from start to finish. The copying wait is cut. On small screens the clip shows the De-identify window up close.

02 NIfTI Basic

Save a series as NIfTI.

File ▸ Export as NIfTI… writes each series as one .nii.gz volume in its original values (HU for CT), with its position and orientation in patient coordinates, for research tools that read NIfTI.

  • Also in the Export dialog, as NIfTI (volume)
  • Window, filters, rotation, crop and measurements are not applied
  • Optional: resample to even spacing (linear interpolation)
  • Professional: save the denoised values once Denoise has finished the series

Basic, Professional and the trial. Needs an original series of 3 or more parallel slices; viewer reconstructions, colour images and tilted-gantry series are not saved. More in the manual

  1. A CT series
  2. File ▸ Export as NIfTI…
  3. NIfTI (volume), original values
  4. Exported 1 NIfTI volume
Real app capture on a public abdominal CT, patient data hidden: File ▸ Export as NIfTI…, original values (HU for CT), Export. On small screens the clip shows the menu and the Export window up close.

03 Text Basic

Type text on the image.

  1. Text tool
  2. Click and type
  3. Larger, yellow
  4. Enter, then a second label
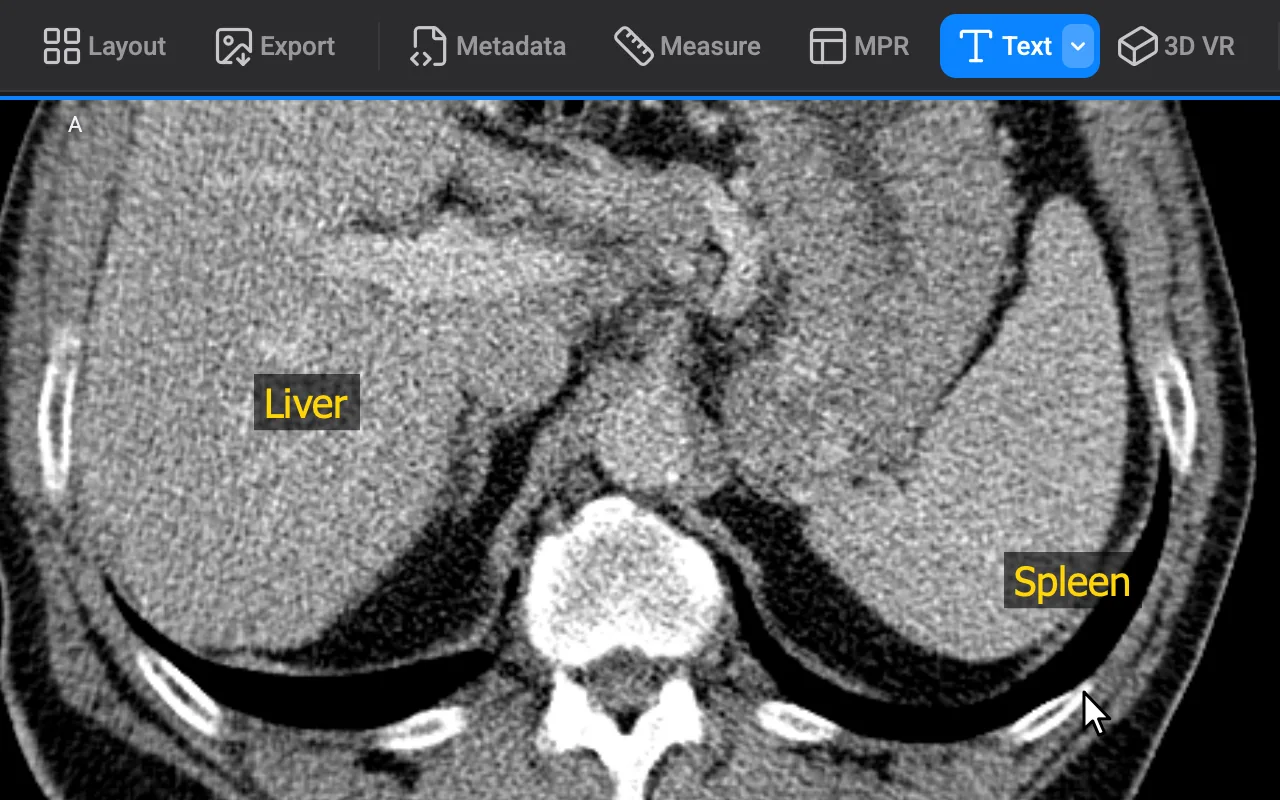
Real app capture on a public abdominal CT, patient data hidden: two labels typed with the Text tool.

Press T, click where the text should start and type. Pick a size and a colour, add a background box, or show the text on every image of the series.

  • Kept with the original series on this computer, not written into the DICOM files; on reconstructions such as MPR, for the session only
  • Shows in exported pictures and movies, also with Annotations set to Basic (anonymous): don’t type patient details on an image you will share
  • Send images takes it along as a DICOM presentation state; the text is not drawn into the images

2D images only. As with every picture export, pictures exported during the trial or without a licence carry the watermark. More in the manual

04 Comments Basic

Comment on a series.

  1. A series in the viewer
  2. Click the bubble
  3. Write a note
  4. Save: shown on the image
Real app capture on a public abdominal CT staged under a demo identity: a comment added from the thumbnail’s bubble.

Press N, or click the bubble on a series thumbnail, and write a note. A cine run can have its own.

  • Shows on the thumbnail, in the Local archive and, on larger panels, in a corner of the image
  • Kept on this computer only, not written into the DICOM files
  • Never exported: left out of exports, Copy, Send and de-identified copies

Up to 1,000 characters. Hidden while patient data is hidden. More in the manual

Also in 1.1.2

  • The trial reminds you as OmniDICOM starts: once with three days left and once with one day left.
  • Help ▸ Request a Feature… starts an email to us in your own mail app; Help ▸ Ask for a Longer Trial… appears in the trial’s last three days and after it.
  • Korean text in files labelled Latin-1 now shows as Korean.
  • Editing metadata: a value the file’s character set cannot store is refused with a warning, instead of being saved as question marks.
  • Professional: while Hold to compare shows the image without processing, the Filter line in its corner is hidden too.
Try the new tools free for 14 days

Already using OmniDICOM? Choose Update now when the app offers 1.1.2. Microsoft Store copies update through the Store.

THE TOOLKIT

See what you can do.

The same toolkit on both platforms. Basic covers the viewer; Pro adds advanced processing and analysis.

Basic 01

Open & organize

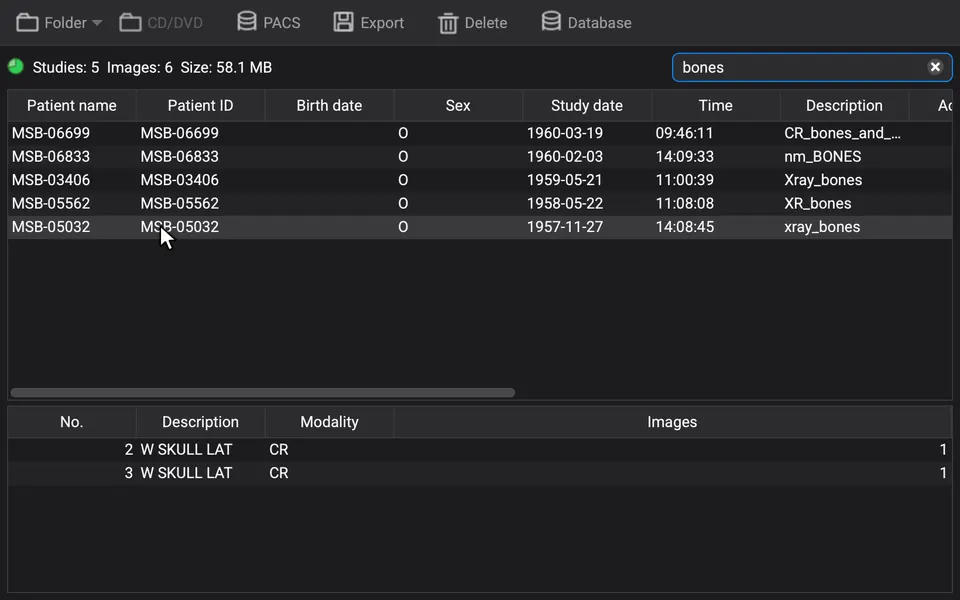
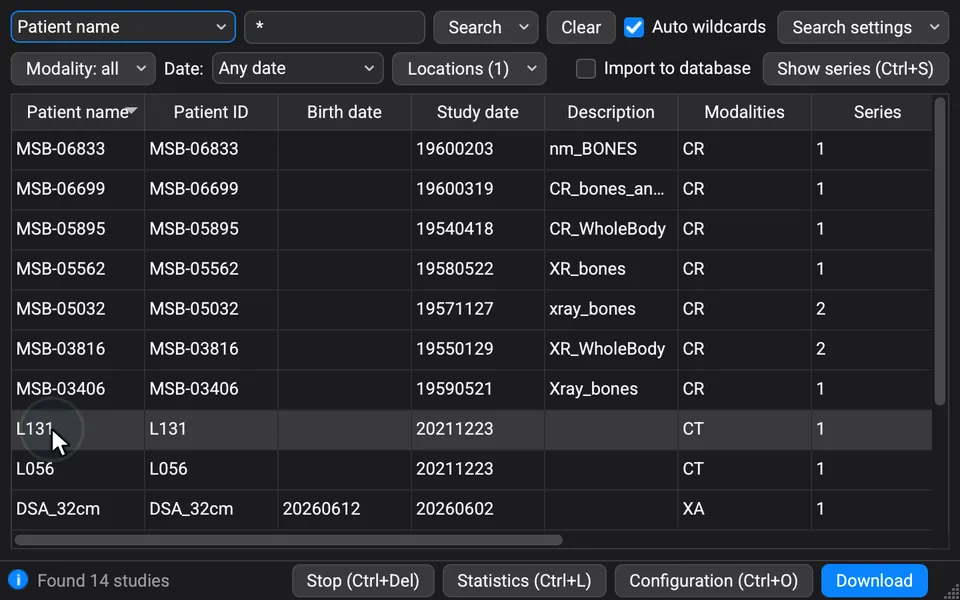
DICOMDIR, discs, folders and multi-frame studies. Search the local archive; remove a series from the list or choose to delete its files.

Basic 02

View & compare

Window presets, zoom, pan, side-by-side layouts and synchronized navigation. Play cine sequences and adjust playback speed.

Basic 03

Edit DICOM metadata

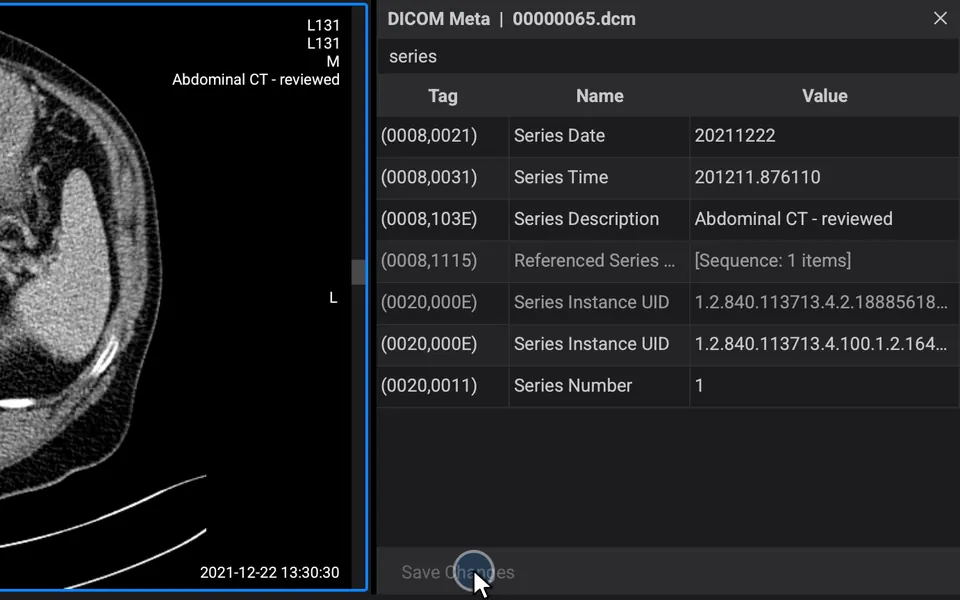
Search tags by name or value. Inspect tag, name and value together; double-click editable values and save changes across the series.

Basic 04

Measure & calibrate

Measure distances and angles, draw regions and inspect their statistics. Manually calibrate studies without usable pixel spacing.

Basic 05

MPR & 3D

Explore axial, coronal and sagittal planes, MIP and volume rendering. Cut through a volume with the scalpel and restore the view.

Basic 06

DSA subtraction

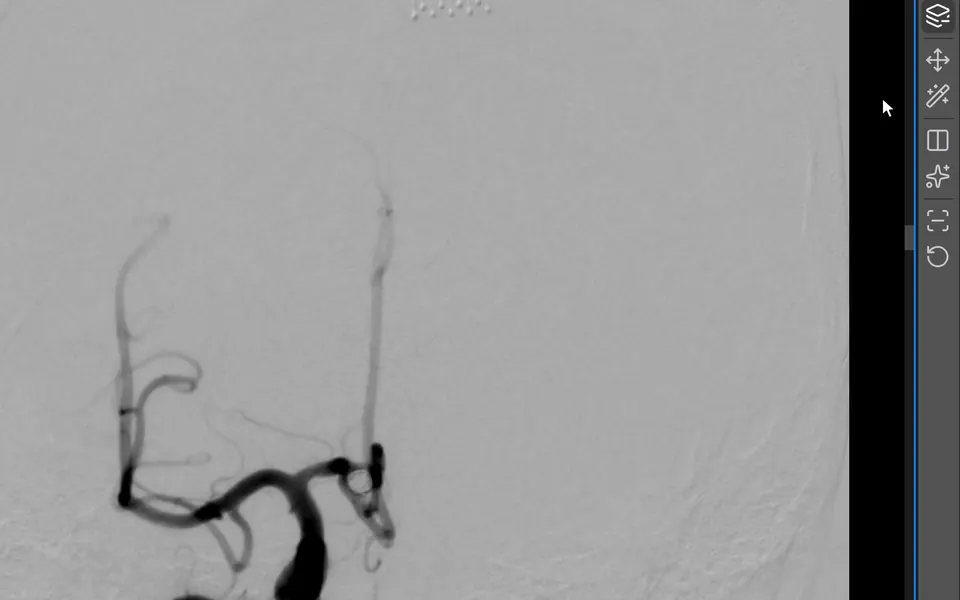
Subtract a mask frame from angiographic sequences. Choose the mask and use Magic Mask to help align it.

Basic 07

PACS & DICOMweb

Find, retrieve, send and receive studies. C-FIND, C-MOVE, C-GET, C-STORE, QIDO-RS and WADO-RS support connect your research workflow.

Basic 08

Images, movies & DICOM

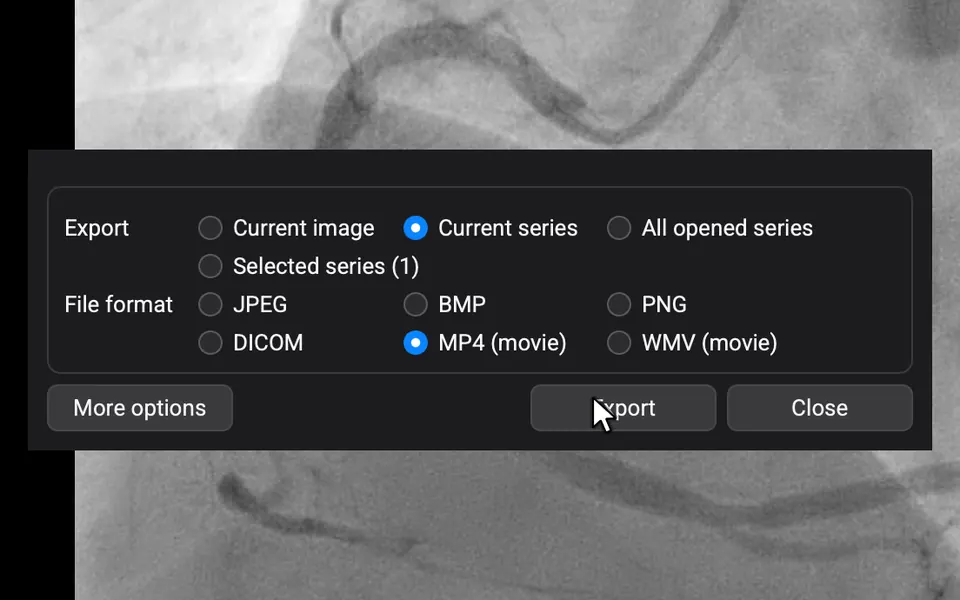
Export DICOM files, PNG, JPEG and BMP images, or MP4 and WMV movies. Choose the current image, a series or all open series.

Basic 09

Fusion overlays

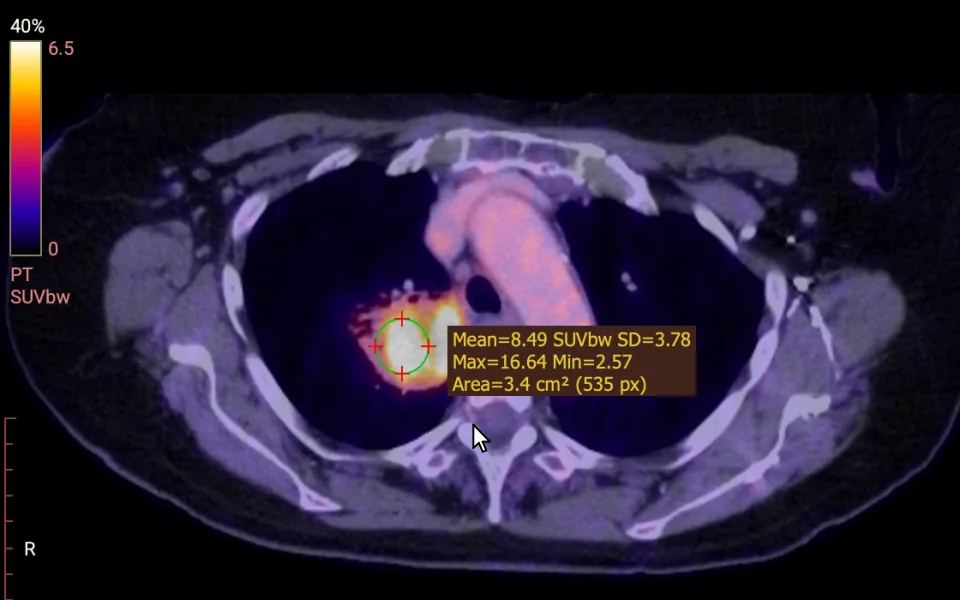
Overlay another series with adjustable colour mapping and opacity. Compare PET and CT with regional measurements of the overlay.

Basic 10

Reports & documents

Open DICOM structured reports, encapsulated documents and video objects from your study.

Pro 11

Advanced processing

Denoise CT series in one click, computed on your own computer. Build a filter chain: sharpening, edge-preserving smoothing, background subtraction and contrast adjustment. Save a derived series with new instance UIDs.

Pro 12

Quantitative analysis

Explore histograms, intensity profiles and time-intensity curves. Export numerical results as CSV for further research.

BUILT WITH RESEARCHERS

Missing a feature? Tell us.

If your research needs something OmniDICOM does not do yet, write to us. One person reads every request, and the ones that fit the product get built. Requests from Professional subscribers go first.

contact@omnidicom.com · We aim to answer within one business day.
In the app: Help ▸ Request a Feature…

DICOM METADATA · BASIC

The tags matter, too.

Fix an incorrect patient ID, clarify a series description or inspect acquisition details without leaving the viewer.

01

Find the tag

Filter the metadata list and inspect Tag, Name and Value together.

02

Edit the value

Double-click an editable value to correct the information.

03

Save to the series

Save Changes writes the edited tags to every file in the series in place. It does not create a separate copy: keep a backup if you need the original metadata. Sequences, pixel and overlay data are read-only.

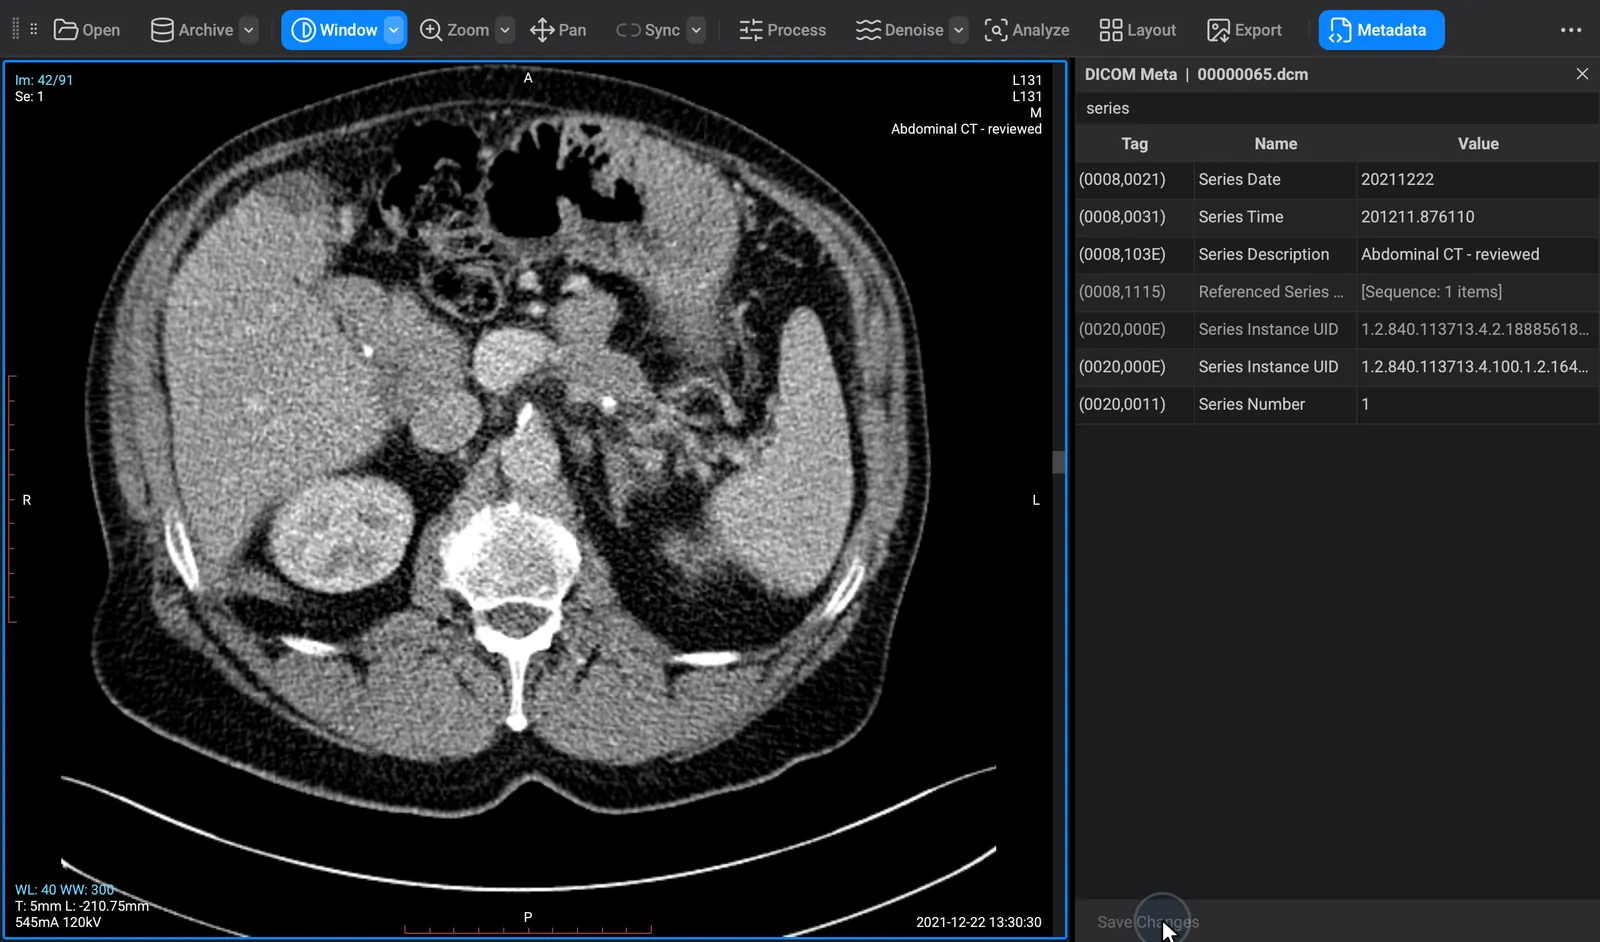
Real app capture: filter the tags, double-click Series Description, type a new value and Save Changes, on a copy of the study.

YOUR WORKSPACE

Your images stay on your computer.

Images are opened, denoised and processed on your computer; no image is uploaded to us.

  • Signed, notarized Mac installer and signed Windows installer
  • SHA-256 hashes under Download
  • Version 1.1.3, released 10 October 2026
  • 30-day refund on every payment
  • Checkout by Paddle, the merchant of record

Image viewing and processing happen locally. Studies are transferred only to destinations you choose, such as your PACS. Licence activation and validation use an internet connection. The app also checks omnidicom.com for a newer version, sending only its version number, and you can turn that check off in Settings. An update is downloaded from our GitHub release page only when you choose Update now.

Read our data-handling policy →

PLANS

Start with the trial. Keep what you use.

Each computer gets 14 days of Professional from its first launch. Then choose Basic or Professional, or keep viewing in five-minute sessions.

14-day trial Free, no card After the trial No licence Basic $10 a month
or $99 a year
Included in your 14-day trial Professional $45 a month
or $449 a year
Viewer: 2D, cine, MPR and 3D with the scalpel, DSA and fusion, measurements, text and comments, metadata editing, archive and PACS Included Five-minute sessions Included Included
Picture and movie exports, clipboard copies, processed DICOM copies Watermarked Watermarked No watermark No watermark
STL surface models Not included Not included Included Included
De-identified copies and NIfTI volumes Included Not included Included Included
Denoise for CT, MR and X-ray (Mac: macOS 14 or later) Included Not included Not included Included
Process: chains of up to eight filters, presets, Hold to compare Included Not included Not included Included
Analyze: ROI statistics, histograms, profiles, TIC, particles, CSV Included Not included Not included Included
Start 14-day trial Keeps opening studies Buy yearly · Basic or monthly · Basic Buy yearly · Professional or monthly · Professional
  • One licence per computer. Prices in USD; applicable taxes are calculated at checkout.
  • A paid licence needs an internet connection at least every five days.
  • Saved Denoise and Process settings are kept, and apply only while Professional or the trial is active.
  • Every payment, renewals included, has a 30-day refund window. Paddle is the merchant of record.
Already on Basic? How upgrading works

Already on Basic? Upgrade from the app, and pay with the email address you bought Basic with. When checkout shows “How the upgrade works”, Professional is charged in full, then we cancel Basic and refund its unused part; your key stays the same. Buying Pro from these plans instead starts a separate subscription, and Basic keeps renewing until you cancel it. How upgrades work

Academic programme: one free year for eligible published research. Team discounts: 15% for 5+ licences, 25% for 10+. Contact us

30-day refund policy · Full pricing details

GET STARTED

Start your 14-day Professional trial.

Free download, no card. The trial starts the first time you open OmniDICOM, so connect to the internet once on that first launch.

OmniDICOM runs on Mac and Windows computers. Open this page on your computer to download it.

1.1.3 · macOS 13+ Apple silicon (.pkg) · Windows 10/11 64-bit (.exe)

Denoise needs macOS 14 or later on a Mac. Mac: open the signed, notarized PKG and follow Continue → Install. Windows: open the signed EXE and follow the installer.

In your 14 days

  1. Open a CT series and click Denoise; click it again for the original.
  2. In Process, tick Sharpen – unsharp mask, press Apply, then press and hold the Hold to compare button.
  3. Draw an ellipse and click its outline to select it, then open Analyze, choose Histogram and Save CSV.

On day 15

After 14 days OmniDICOM still opens studies, in five-minute sessions. Pictures and movies exported during the trial or without a licence carry a watermark, and STL export needs a paid licence. De-identified copies and NIfTI volumes work during the trial and need a paid licence after it. Saved Denoise and Process settings are kept and apply again while Professional is active.

Compare plans ↑
Windows warning: “Windows protected your PC” or “isn't commonly downloaded”?

Edge and SmartScreen warn about any new installer that few people have downloaded yet, even a signed one. The OmniDICOM installer is Authenticode-signed by its publisher, Youngrak Choi.

  1. Keep the download: in the Edge Downloads list, choose … › Keep › Show more › Keep anyway.
  2. Check the signature before you run it: right-click the .exe › Properties › Digital Signatures, select Youngrak Choi and choose Details. It must say “This digital signature is OK.” The name alone proves nothing: a modified copy still lists it.
  3. If “Windows protected your PC” appears, choose More info. Choose Run anyway only if the publisher is Youngrak Choi, not “Unknown publisher”.

Download OmniDICOM only through the buttons on omnidicom.com; they deliver the file from our official GitHub release. If there is no Digital Signatures tab, the signature is not OK, or it names another publisher, do not run the file. Step-by-step Windows installation →

Verify your download (SHA-256)

macOS 1a80759e2a88879fc97d5079c58bb61059b7cbd5b5558edbdb49c42233e72942

Windows 106b1e2e10aed8008528ee8f337f03aafc2975a3a6311fd68c6927a47390c936

QUESTIONS

Before you download

What happens after 14 days?

OmniDICOM keeps opening studies, in five-minute sessions; restarting gives another five. Exports carry a watermark and STL export needs a paid licence. De-identified copies and NIfTI volumes, which work during the trial, need a paid licence after it. Basic ($10 a month) lifts those limits for the whole viewer; Professional ($45 a month) adds Denoise, Process and Analyze.

Does Denoise upload images or change my files?

No. Denoise runs on your own computer and no image is uploaded. Your DICOM files are never changed: Denoise can be saved for the series on this computer, like other processing, and you can turn it off at any time.

Which scans and computers work?

The viewer opens CT, MR, angiography, ultrasound and other supported DICOM studies on Apple silicon Macs with macOS 13 or later and on 64-bit Windows 10 and 11. Denoise works on CT and MR series and on X-ray images (CR, DX, DR and RG), not on mammography; on a Mac it needs macOS 14 or later, and on Windows it uses the graphics card through DirectML where available, otherwise the processor.

Can I use it for diagnosis?

No. OmniDICOM is for research and education only. It is not a medical device and is not intended for diagnosis, primary interpretation or clinical decision-making. This applies equally to denoised and processed images.

Which modalities does Denoise work on?

CT and MR series and X-ray images (CR, DX, DR and RG). For any other modality, mammography included, the Denoise button is greyed out and says so. Labelling workflows are planned; they are not part of the current plans.

Is the app in Korean?

The application interface and its built-in manual are in English. This site has Korean pages for the homepage and the how-to guides.

GUIDES

Learn the workflows.

Workflows

  • CT denoising

    Reduce noise across a CT series on your own computer, compare it with the original and see what reads the denoised values.

  • DICOM viewer for Mac

    Check Mac compatibility, open CT and MRI studies, and explore MPR, 3D and editable metadata.

  • Cine DICOM viewer

    Play dynamic sequences, inspect individual frames, adjust speed and export video.

  • Angio & DSA DICOM viewer

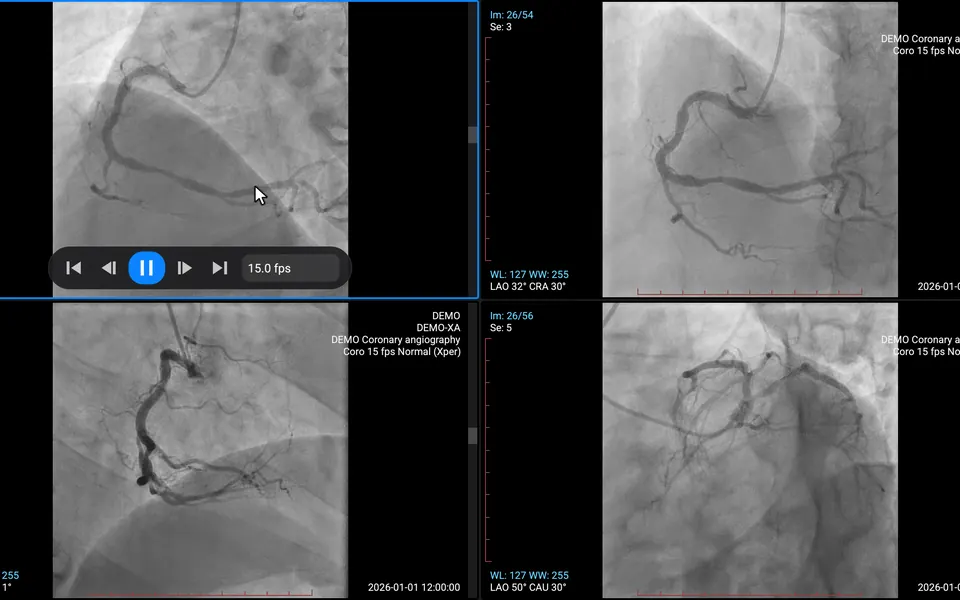
    Review angiographic runs with cine playback, mask subtraction and pixel-shift tools.

How-to guides

Reference

Image credits

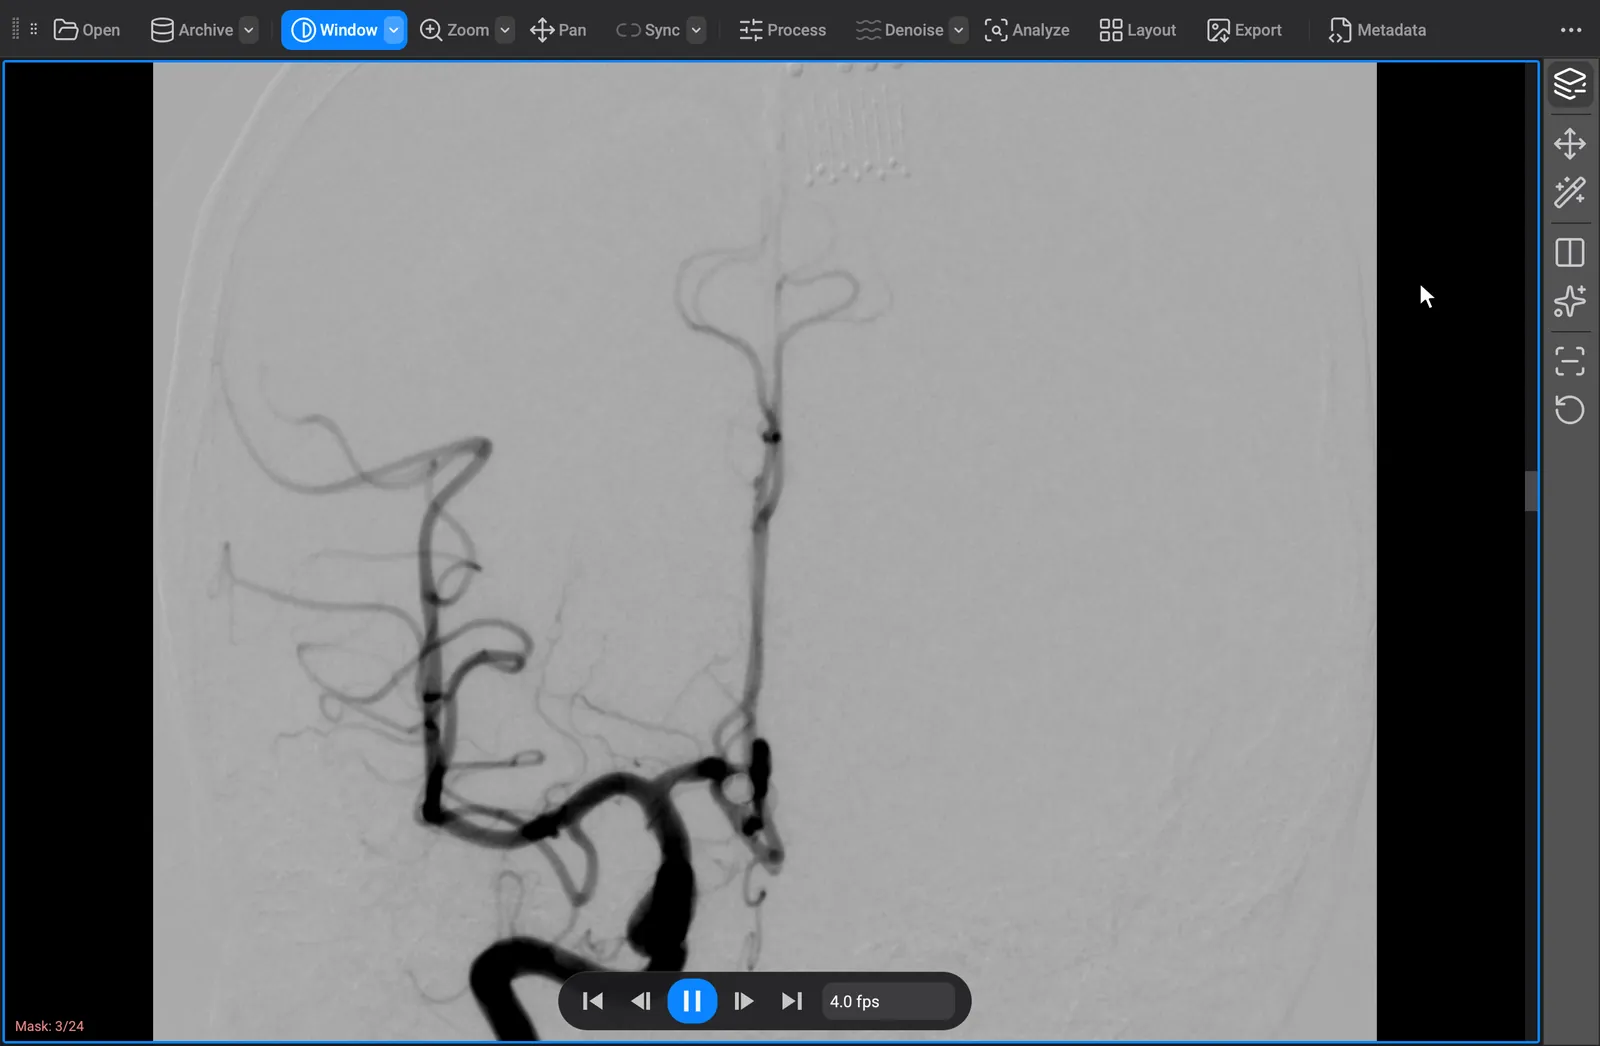
All screenshots and clips are captures of the OmniDICOM app. Pointers are drawn in, waits are cut, and 3D turns are shown at 15 frames per second, which is not a rendering speed.

CT Colonography (ACRIN 6664): Smith K, et al. (2015), The Cancer Imaging Archive, doi:10.7937/K9/TCIA.2015.NWTESAY1, CC BY 3.0, modified.

LDCT-and-Projection-data: McCollough C, et al. (2020), The Cancer Imaging Archive, doi:10.7937/9npb-2637, CC BY 4.0, modified; NIBIB grants EB017095 and EB017185.

FDG-PET-CT-Lesions: Gatidis S, Kuestner T (2022), The Cancer Imaging Archive, doi:10.7937/gkr0-xv29, CC BY 4.0, modified.

COVID-19-NY-SBU: Saltz J, et al. (2021), The Cancer Imaging Archive, doi:10.7937/TCIA.BBAG-2923, CC BY 4.0, modified.

CMB-MML: Cancer Moonshot Biobank (2022), The Cancer Imaging Archive, doi:10.7937/szkb-sw39, CC BY 4.0, study list rows only.

VAREPOP-APOLLO: Research for Precision Oncology Program and APOLLO Research Network (2024), The Cancer Imaging Archive, doi:10.7937/ghkn-md15, CC BY 4.0, study list rows only.

Angiography: OmniDICOM’s own demonstration runs; names, IDs and dates are demo values.

For research and education only

OmniDICOM is not a medical device and is not intended for diagnosis, primary interpretation or clinical decision-making. Processing creates derived images; metadata editing and explicit file deletion can modify original files.